Grading, Compositing, and Editing in Resolve

“The shoot for my goofy little rant, “The Importance of Color Correction,” came on the heels of some promos that Steve Martin wanted me to record for my newest Ripple Training titles for DaVinci Resolve 12. I figured, since I’m there on a stage, why not have a bit of fun with it?
A confession – I suffer from incurable impatience between a shoot and the beginning of the cut, so once home I immediately fired up Resolve 12 and got to work. I was determined to do the entire thing inside of Resolve, to test the workflow of grading, compositing, cutting, and finishing a green-screen intensive project, all within Resolve 12. Since I knew I wanted to edit a series of dynamically changing backgrounds that reacted to what was being said, my first order of business was to grade the clip, and create transparency from the green background for compositing within the timeline.
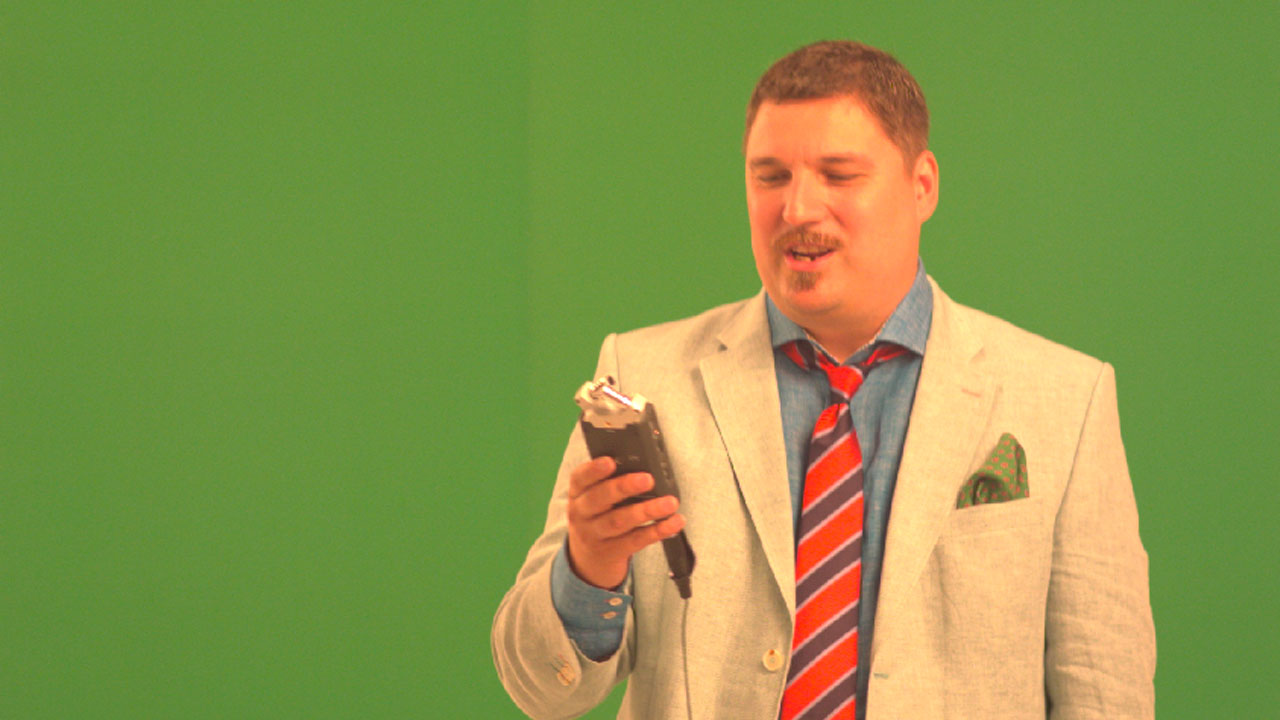
I shot with the BMD Production 4K camera, but I made the decision to record to ProRes HQ, instead of raw, as I wasn’t sure how many takes I’d burn through, or how much space I’d ultimately need. This meant that, although I recorded a log-encoded image, my camera settings were burned into the files. The result, owing to a combination of camera color temperature settings and shooting through the glass of the teleprompter I was using, was the following image (after normalizing to Rec. 709 using Resolve Color Management):” – Alexis Van Hurkman
Posted by Alicia
