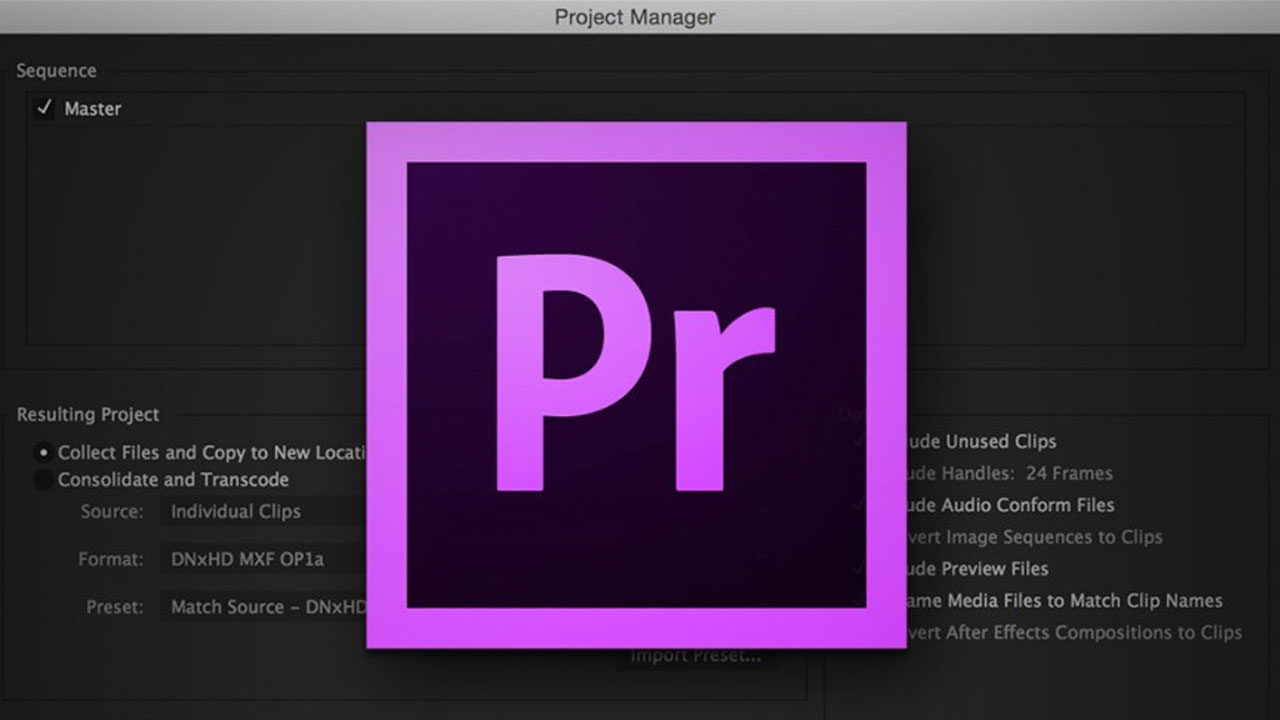
3 Uses for the Premiere Pro ‘Project Manager’

“When I first started editing, my projects were a complete mess. I was self taught and as a result never had it drilled into my head to keep my projects organized – let alone how to deal with media management. As the years went on and I started working professionally as an editor, it became very clear that in order to do my job well creatively, I would need to drastically improve the way in which I was organizing and handling my projects and media.
Now, having around a decade of experience in the editorial world, I have finally developed a system for handling my large scale projects that allows me to spend more time editing and less time trouble shooting – largely thanks to a thorough understanding of media/project management.
In this post I want to zero in on project management, a tool that it is extremely important in a number of post situations, regardless of how well organized your material is.
I am going to use a few examples that are specific to Premiere Pro, however it’s worth noting that these tips apply to just about any video editing application that you may be working in. I work in a variety of NLEs, from Final Cut Pro X to Premiere to Avid, and each of them are able to deal with media/project management in their own way. The project manager (or media manager) works very similarly across the board. There are just some slight differences in terminology and overall functionality that differ between various pieces of software.
1. Organizing a Very Disorganized Project
If you’re an editor that suffers from poorly organized projects, the project manager is going to be your new best friend. It’s quite common for editors to start throwing clips into their project (and other assets such as music, photos, etc.) that aren’t properly labeled and filed away on their hard drives, and then just start cutting away.
Most editors do this to save a couple of minutes up front, so that they don’t need to ‘waste time’ filing their assets away. However they end up having major issues down the road. For instance, they might be referencing a photo on their desktop that accidentally gets deleted or they want to pass of the project hard drive to another editor and there’s a ton of offline media on it.
The key to getting your project organized – whether it’s for your own sanity or because you are going to share it with someone else, is consolidating the media. In Premiere Pro, the best way to do this is to access the Project Manager (under the file menu) and select “collect files and copy to a new location”. This does exactly what it sounds like.
It will take every last one of the files in your project and copy them over into a folder of your choice. This feature is a life save when working with a messy project. It will essentially organize the media (on the finder/hard drive level) for you. It won’t help to clean up your bins at all, but it will help to ensure that you are never missing any media.” – Noam Kroll | PremiumBeat
Posted by Alicia
